Even though our primary focus is Ruby on Rails, we’re developing one Flutter application. In this project, we implemented a Skeleton Screen to enhance the app’s professional appearance during data loading. What is a Skeleton Screen and how did we implement one?
Skeleton screens: Enhancing User Experience
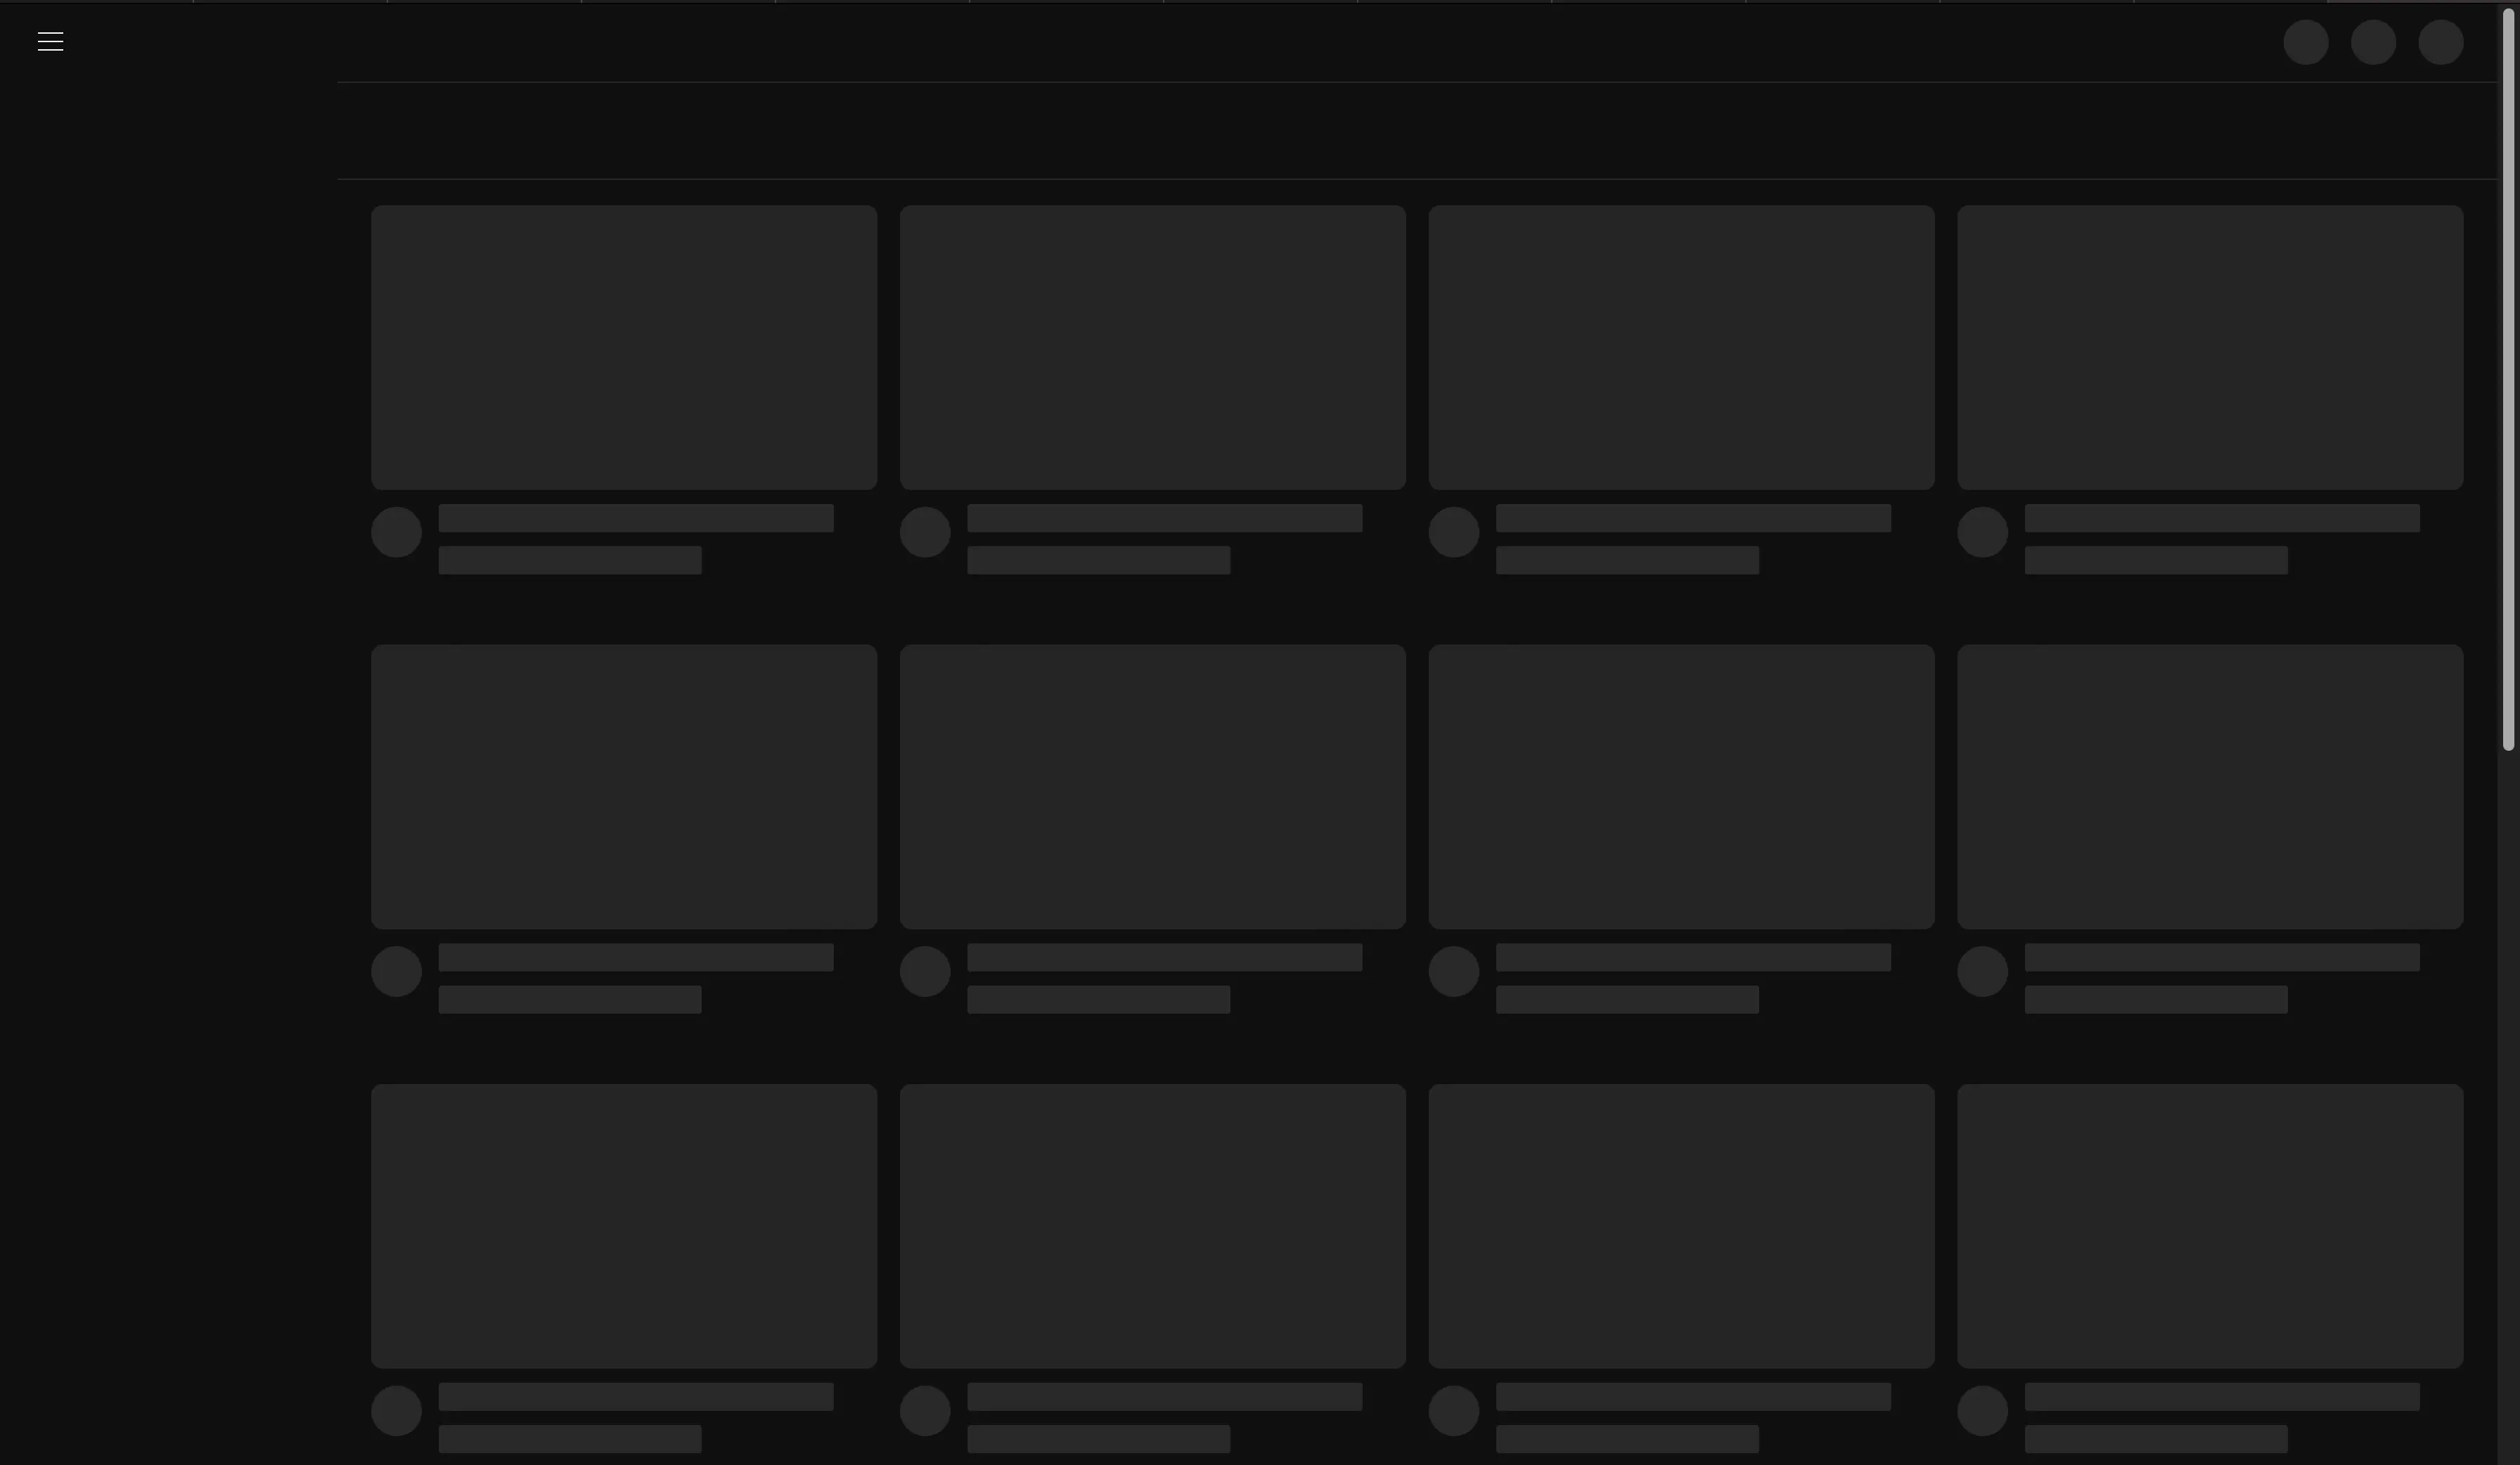
Skeleton Screens are a clever UX concept, primarily utilized to enhance user experience during web or app loading times. By displaying a simplified, static version of the user interface, skeleton screens provide the illusion of instant loading and significantly reduce the perception of long loading times.
Also, skeleton screens are used to mitigate Cumulative Layout Shift. CLS refers to unexpected changes in the position of content on a page. For example, if we fetch data remotely and then display it on a page, the content displayed previously would jump around the page, increasing the CLS. By introducing skeletons where the fetched data should be displayed we decrease the CLS of our page.
A real-life example
We’re working on a Flutter application that calls a bunch of API endpoints and then displays that information to the user. Despite being reasonably fast, the user sees a white screen until all the data is fetched and displayed. To solve this, we came across the skeletonizer package.
The skeletonizer package simplifies the process of creating skeleton layouts. Traditionally, creating and updating these skeleton layouts can be cumbersome, as changes in the actual layout require corresponding updates in the skeleton layout. Skeletonizer elegantly solves this problem by automating the conversion of existing layouts into skeletons. This automation not only saves time but also ensures consistency across the actual and skeleton layouts.
Basic Usage
Implementing Skeletonizer in your Flutter application is straightforward. You wrap your existing layout with the Skeletonizer widget, which then works its magic to transform your layout into a skeleton version. A simple implementation example would be wrapping a ListView.builder with the Skeletonizer widget, which automatically skeletonizes the list items while data is being loaded.
Skeletonizer(
  enabled: _enabled,
  child: ListView.builder(
    padding: const EdgeInsets.all(16),
    itemCount: blogs.length,
    itemBuilder: (context, index) {
      return Card(
        child: ListTile(
          title: Text(blogs[index]["title"]!),
          subtitle: Text(blogs[index]["subtitle"]!),
        ),
      );
    },
  ),
);
Of course, when we are loading data, our blogs list won’t be populated yet. To address this, it’s essential to create some fake data to give structure to the list while the real data is being fetched. This approach ensures that the Skeletonizer can effectively transform the layout into its skeleton form, providing a visually pleasing placeholder during the data loading process.
Skeletonizer also excels at managing various scenarios with its suite of features. For instance, Skeleton.unite combines smaller items into a single cohesive element, while Skeleton.ignore lets you bypass rendering for certain widgets. Skeleton.keep maintains the original display of a widget, and Skeleton.shade preserves the shape during loading. These functionalities, among others, highlight the package’s adaptability and ease of use.
Next steps
The Skeletonizer package in Flutter is a powerful tool that seamlessly integrates into existing layouts to create dynamic skeleton loaders. In terms of effort, it is one of the most cost-effective ways to elevate your application’s user experience.
If you’re working on an application that loads data in the background before presenting something to the user, consider providing a Skeleton screen to reduce the perception of a long wait time.